pitchXO
Setup Tutorial

Hello,
Welcome to pitchXO. This guide will show you step by step instructions on how to sign up and setup your account as a new user.
To get started, please visit https://www.pitchxo.com.
pitchXO
Setup Tutorial
Hello,
Welcome to pitchXO. This guide will show you step by step instructions on how to sign up and setup your account as a new user.
To get started, please visit https://www.pitchxo.com.
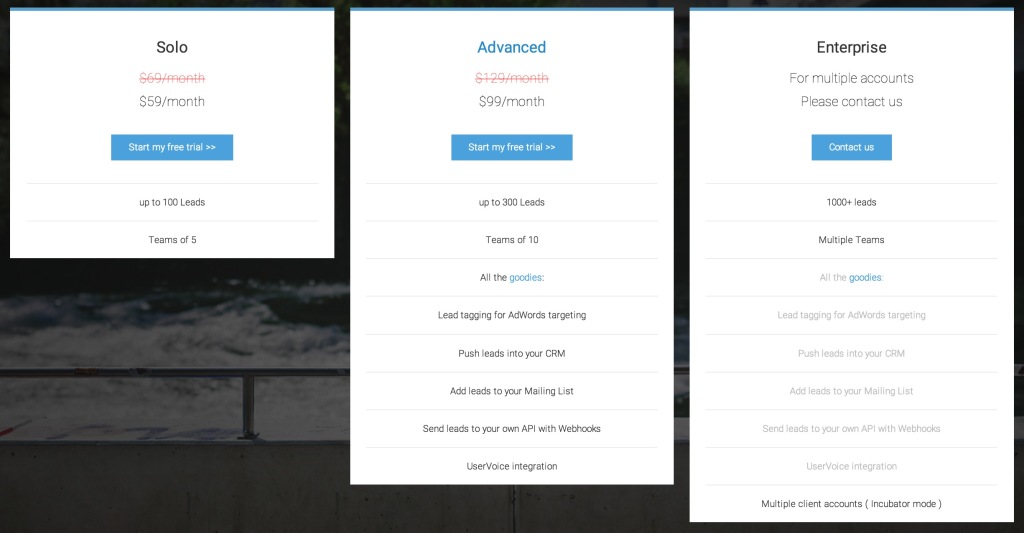
Selecting your plan:
pitchXO provides many pricing options from the solo entrepreneur package for those just starting out up to the enterprise package for larger organizations. You will also have the option to upgrade later as your company grows.
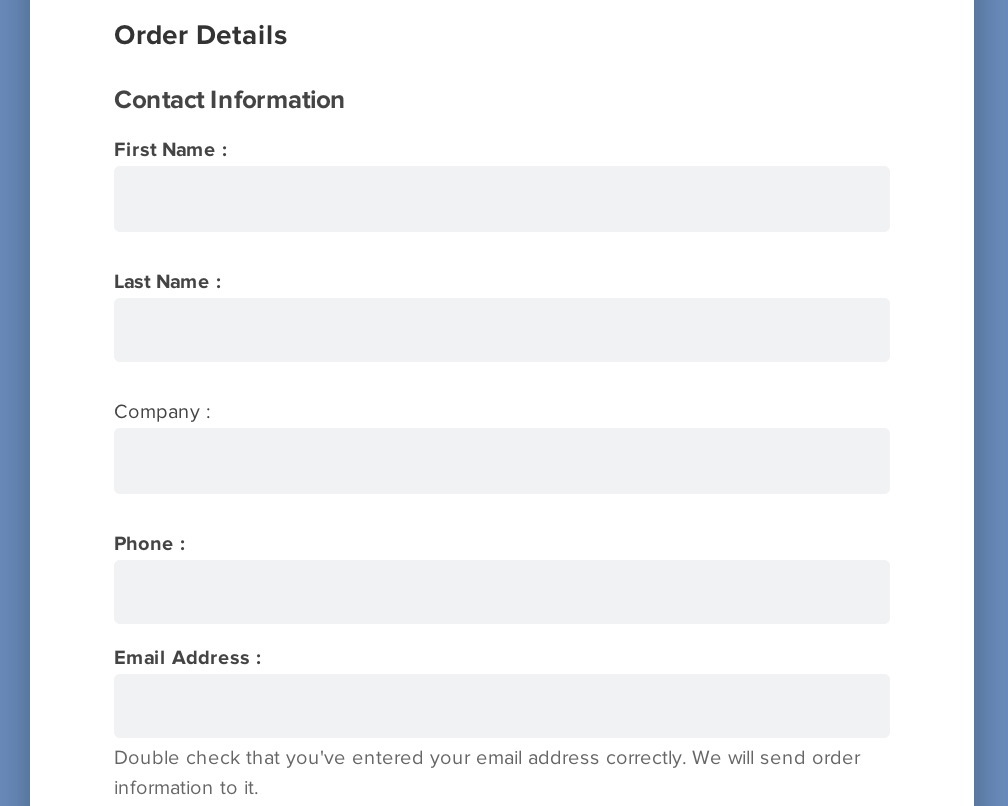
Filling out the order form:
Please fill out the form with the correct information. Make sure to double-check the email field. We will be sending the order confirmation and invoice to this address and it is needed to activate your account.
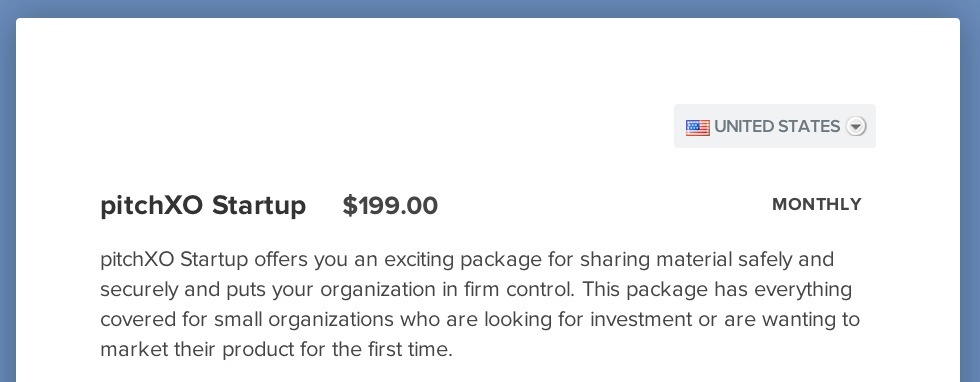
You can select different countries on the drop down box and it will approximate how much it will cost in that currency.
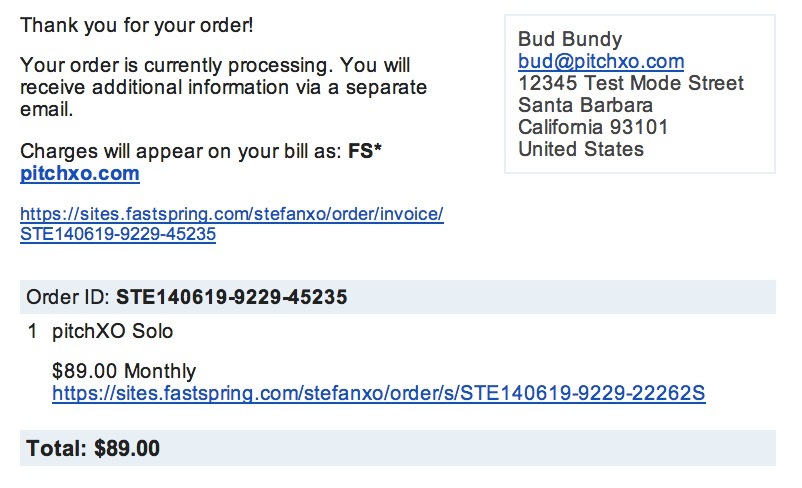
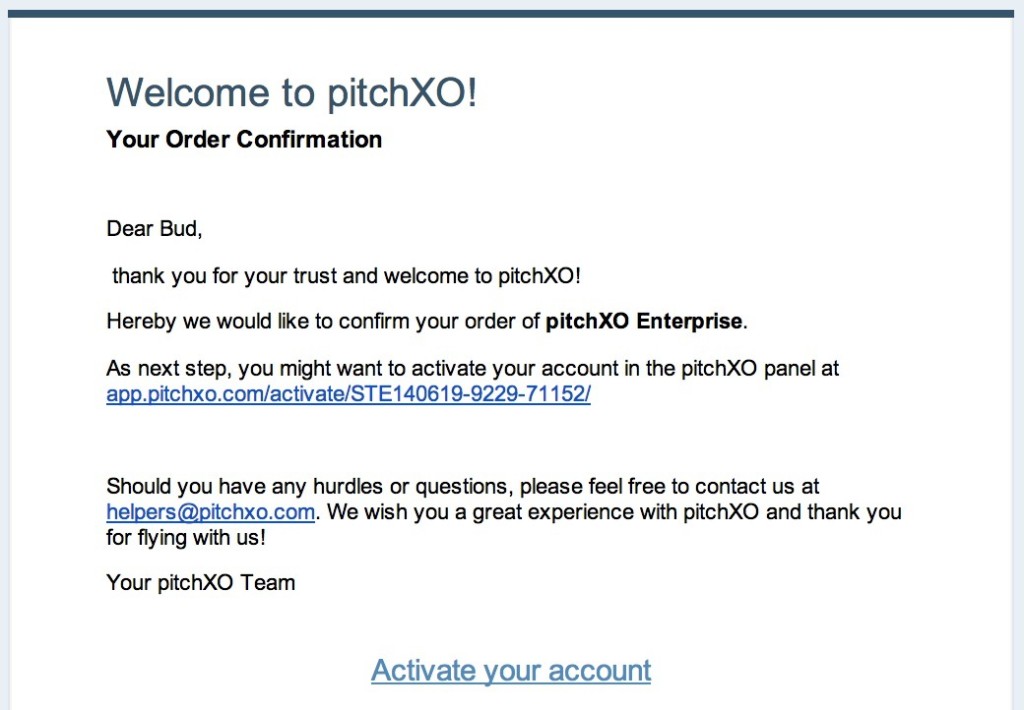
E-mail Confirmation:
You will receive two e-mail confirmations. First is your invoice of your order. The second is a confirmation with a link to activate your account. Once activated you will have administrative privilege to edit your page.
Activate your account by clicking on the following link provided in the e-mail.
Here is the video version:
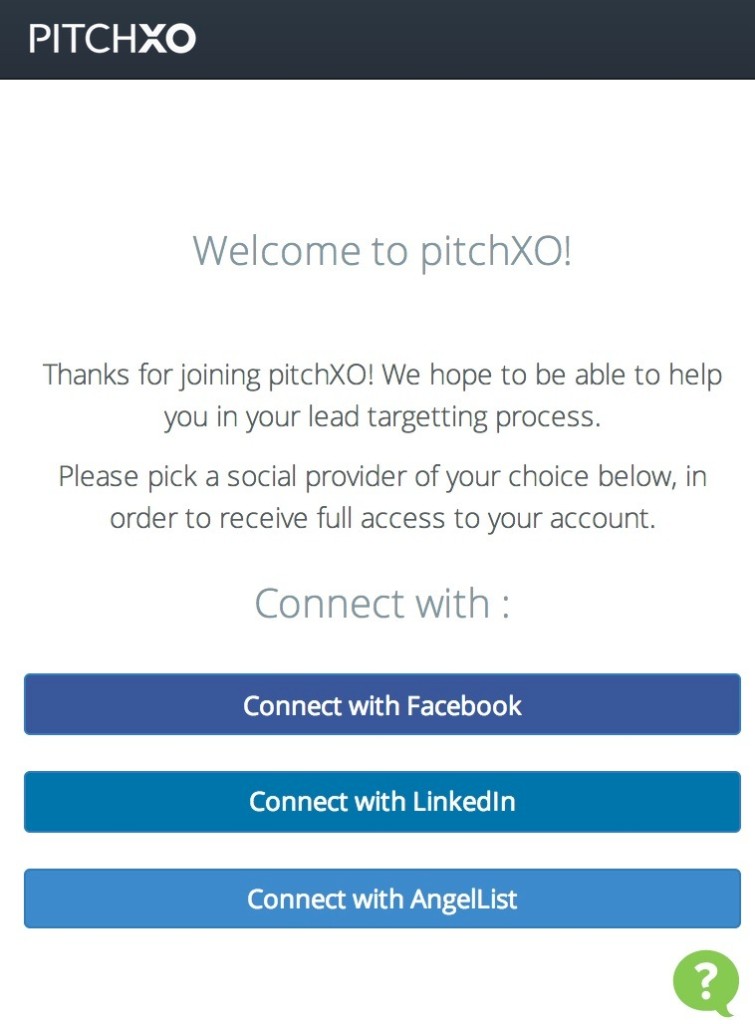
Log in and setup the data room:
pitchXO utilizes social login making it easy to access your account. You have the option of choosing Facebook, Linkedin, or AngelList.
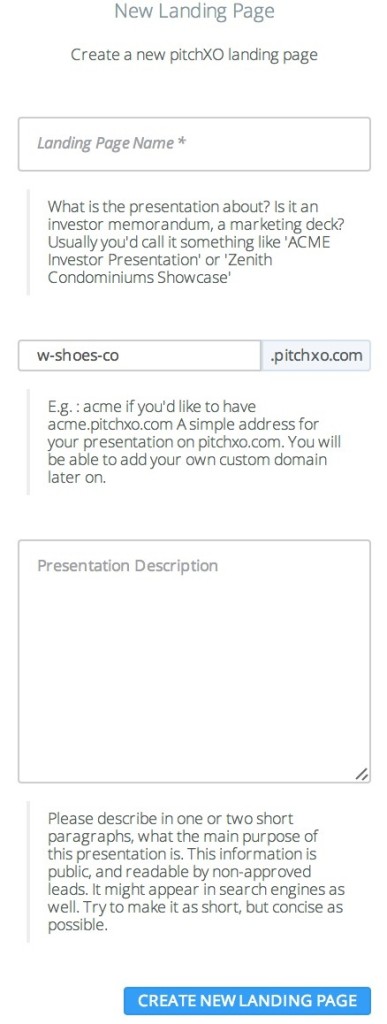
Once you logged in, you will be directed to create a data room. This is the first page your lead will see when they log in to view your material. Fill in the missing field with the name of the data room, custom URL link, and description.
Once you are satisfied with the entry click on the link below to "Create New Data Room"
You’re not done yet. You will need to select an image background and your company color scheme.
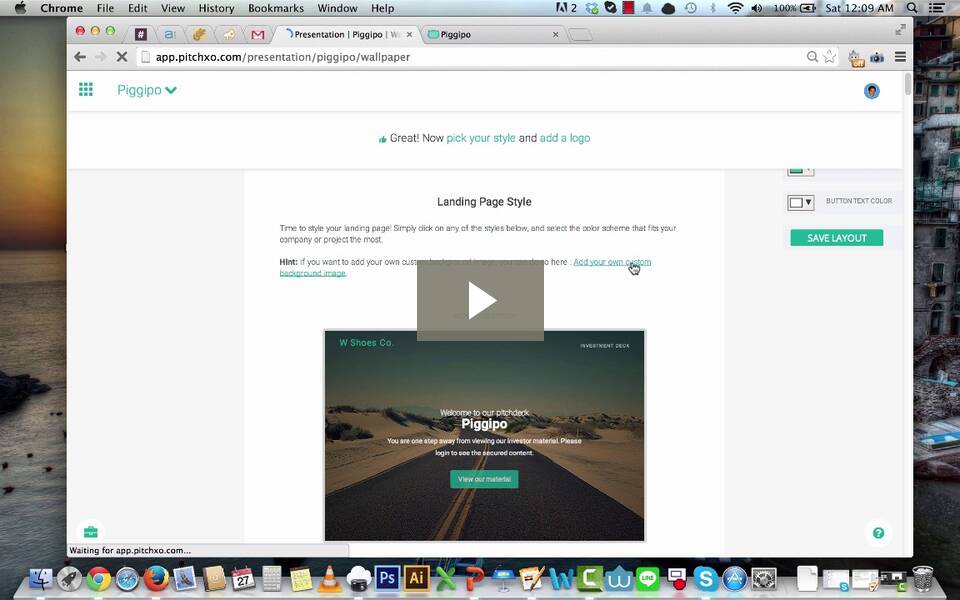
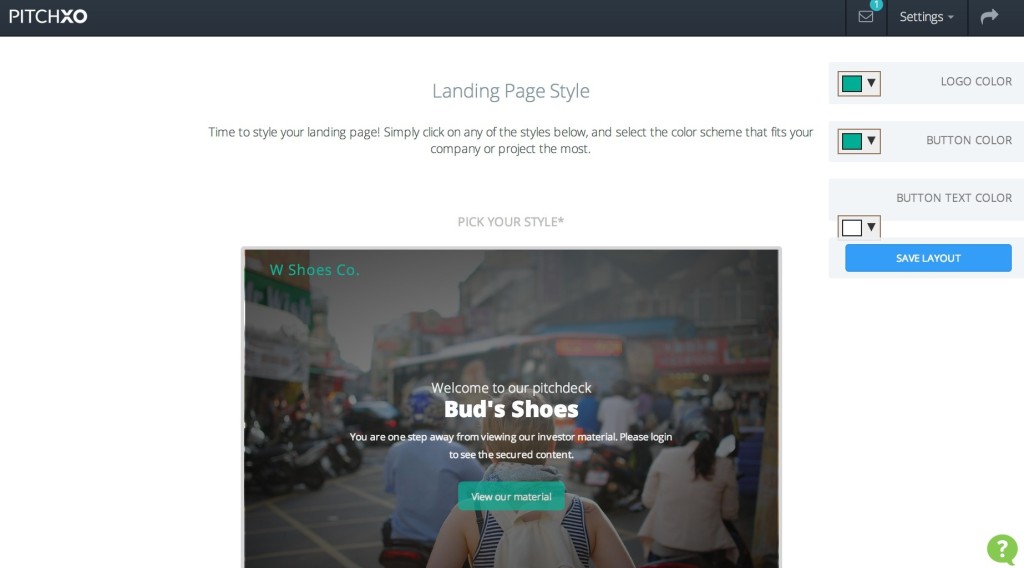
Selecting the background image and colors for the data room:
On the left side of the dashboard menu, select Style.
There are three color schemes to choose from: Logo, Button, and Button Text colors. We recommend selecting the colors that best matches with your company colors. Now, let's select your data room background by scrolling down and selecting the image of your choice.
Once you have decided on the colors and background image. Click on "Save Layout"
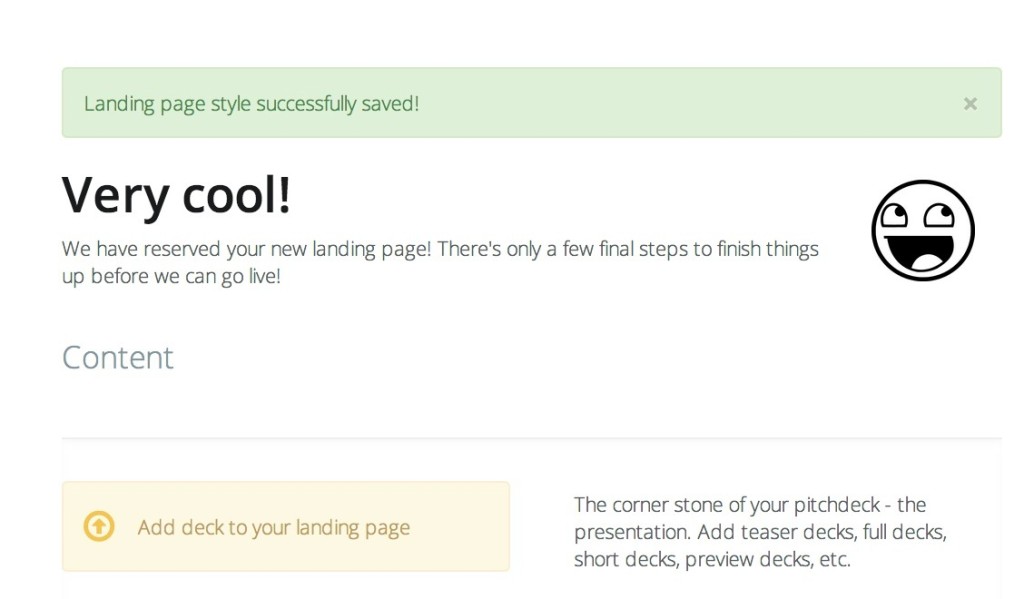
Creating a deck and uploading the presentation:
You will need a deck to load your presentations into.
Click on “Add deck to your data room”
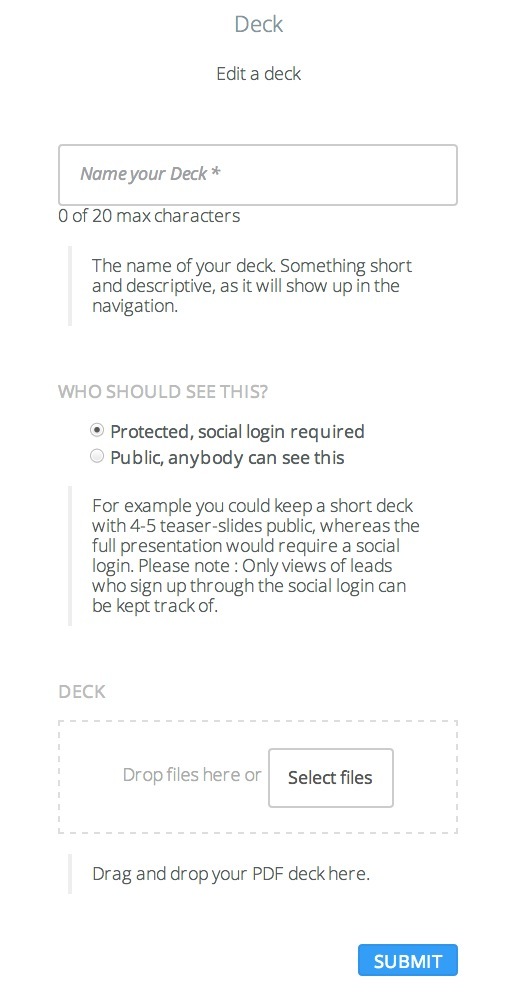
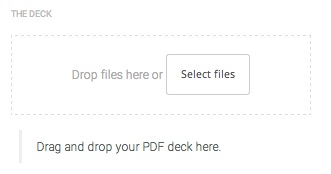
Provide a name for your deck and decide if you want to have it public or protected. Upload your PDF file by dragging it inside the dotted lines or selecting your file. Once completed, just hit SUBMIT.
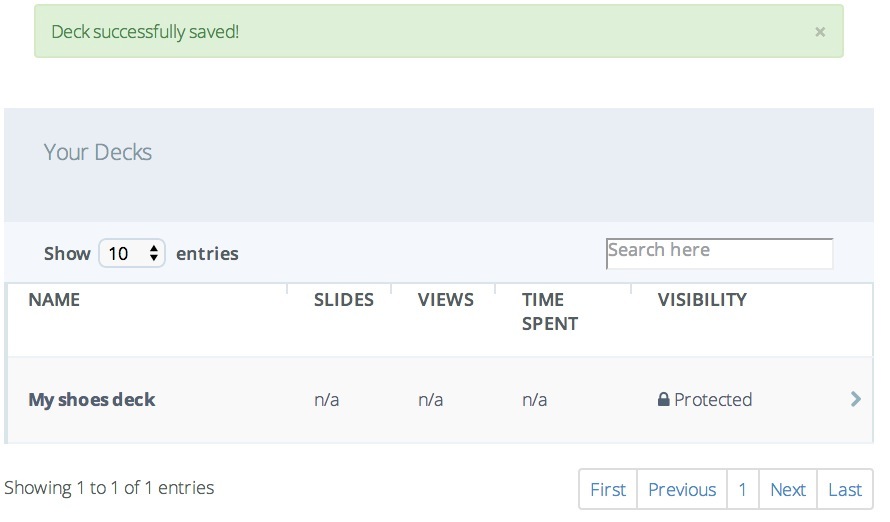
Your deck has been successfully created. You will now see your presentation listed here.
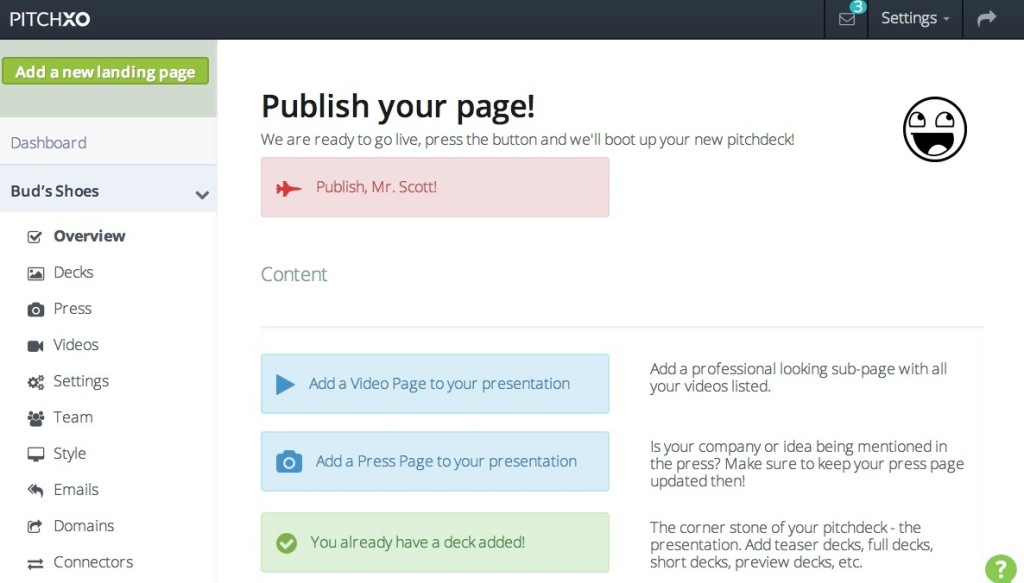
Publishing your page:
It’s time to publish your page. Just hit the “Publish, Mr.Scott!”
Note: Every time you make any changes to your page, you will need to come to the Overview and publish it again.
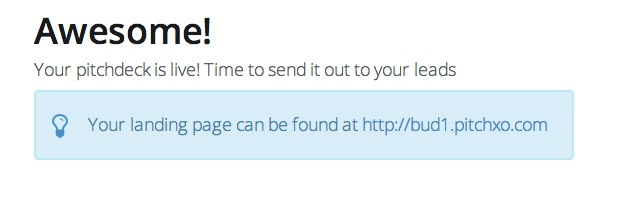
You’re done. Now send out your data room link to your leads and start pitching.
Did your company get mentioned by the press/media?
Adding a press page can dramatically increase your lead's interest and your credibility. Show your leads what you have done that has been recognized by the media.
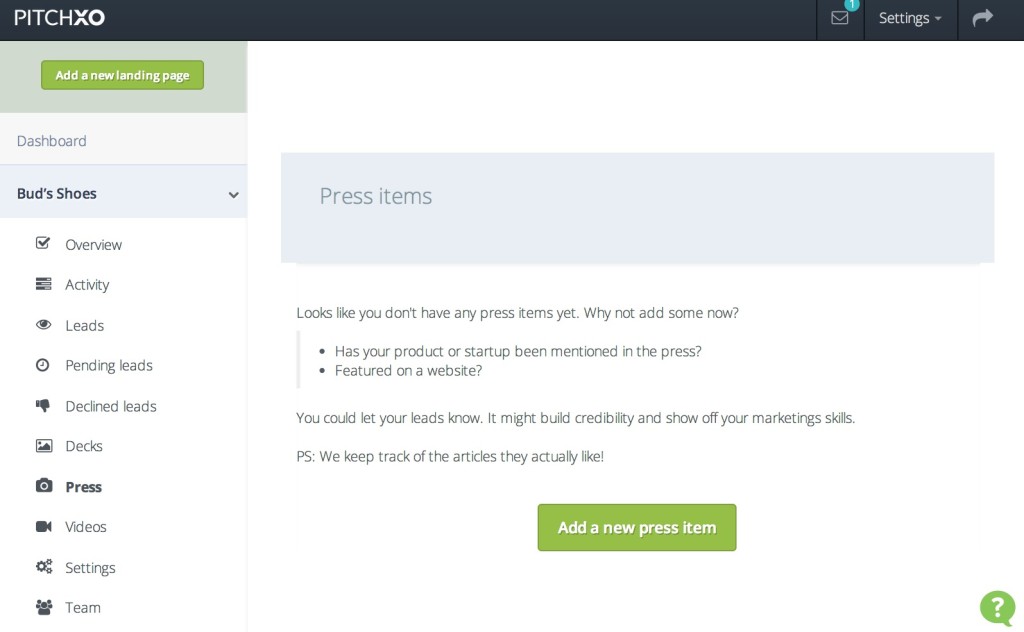
On the left side of you menu, select Press.
This will take you to the Press page where you can add your articles. Click on the "Add a new press item."
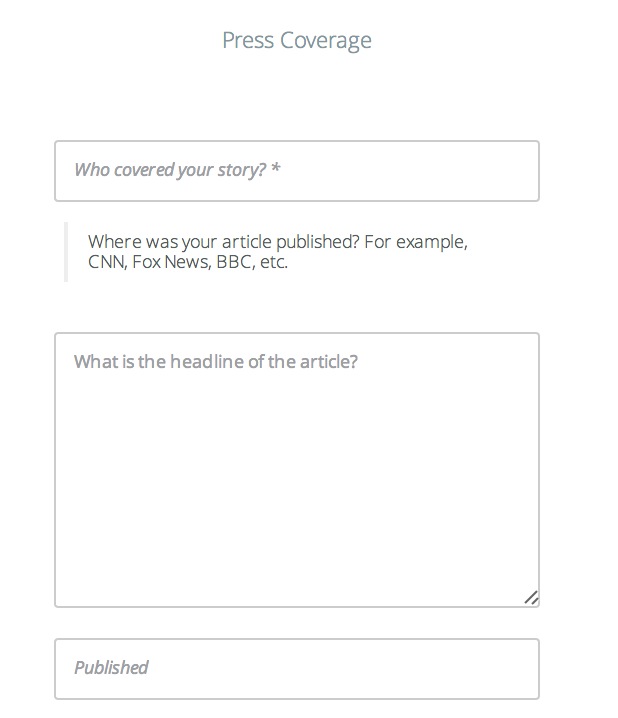
First, fill in the field by providing the press/media who covered your story. Then provide the title of the article in the next field, and provide when a date when it was Published.
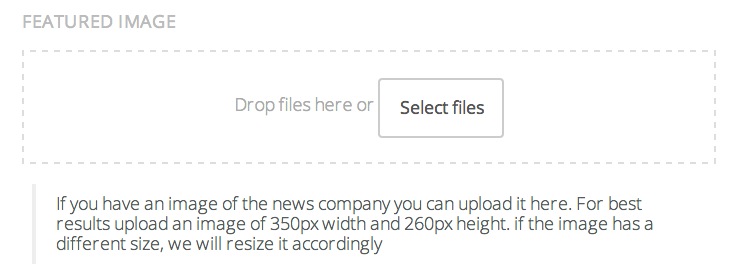
Adding Press logo to your page
You may want to add a logo to make your Press page more appealing and professional. You can do this by simply doing a Google image search (CNN, FOX News, BBC) and save the image onto your desktop and dragged the file inside the dotted lines.
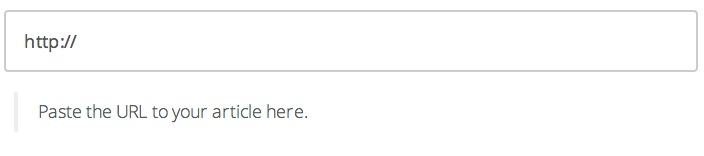
Linking the articles to your press page
Copy the original URL press source and paste below.
Optional: Downloadable articles
You can have the articles be downloadable by your leads if you have them in a PDF file. Simply click and drag the file inside the dotted box or Select files.
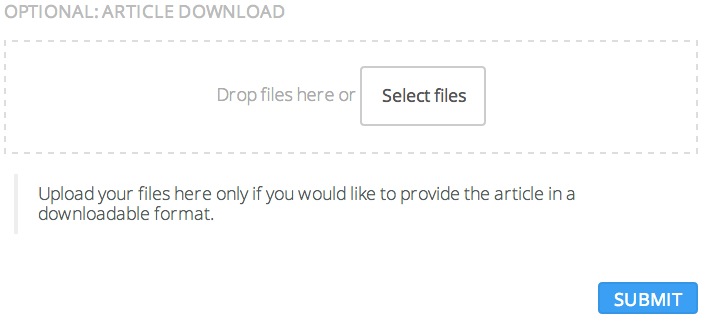
Once you are done with the press material. Just click on SUBMIT.
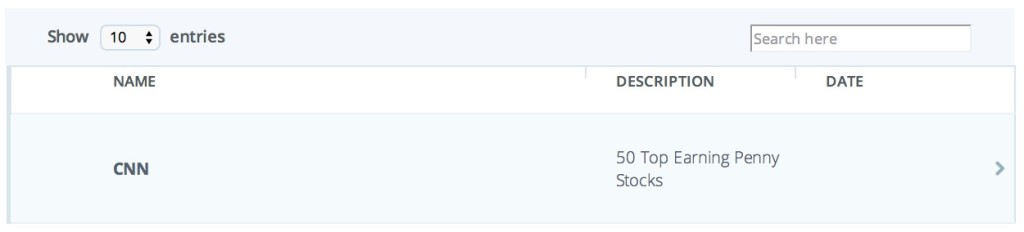
Your press article is now displayed on your Press page.
You're not done yet. Remember, every time you make a change you will need to publish it again. Go back to the Overview on the left menu and click on "Publish, Mr.Scott!" Now you're done!

Your Press link now should be displayed on the data room on the top right corner.
Your leads will now be able to see your press material.

Not available on the Solo plan
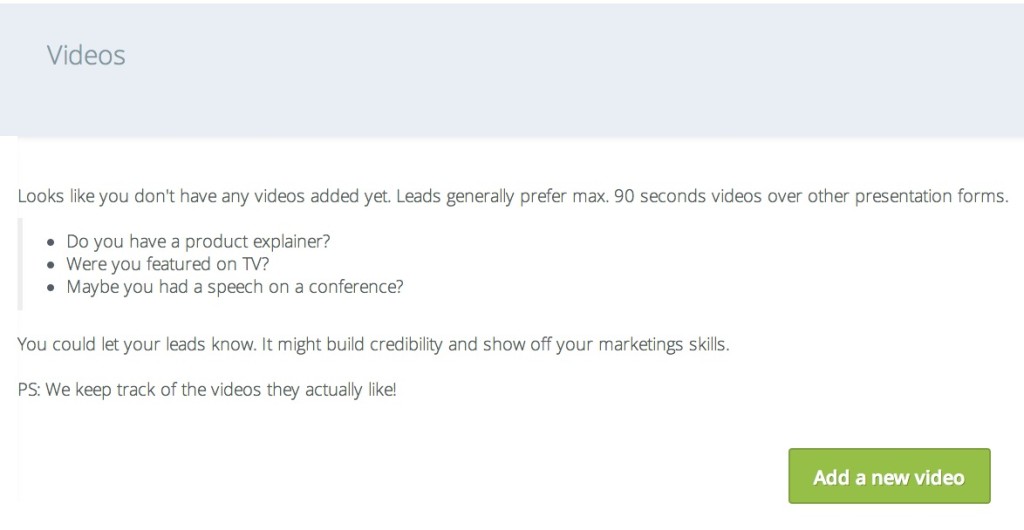
Do you have video coverage of your company, products, and interviews?
Go to the left menu and click on Video.
This will take you to the video edit page. Click on "Add new video"
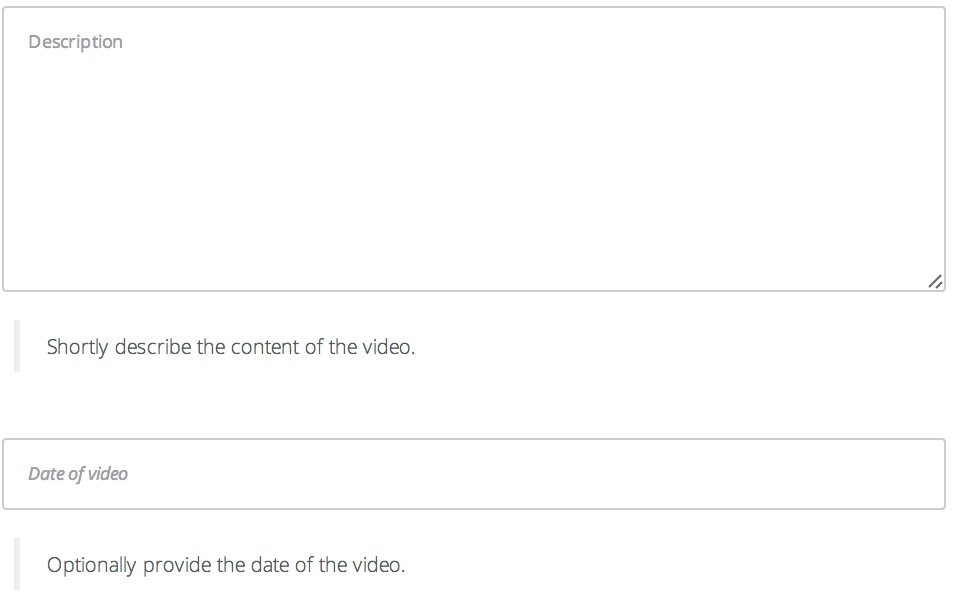
First, provide the title of your video. Then copy the URL of the video from Youtube/Vimeo and paste into the field provided.

Now provide a description about your video. This is also a good chance to provide additional information such as updates and links. You can also provide a date when the video was released.
After all the fields have been filled out. Just click on SUBMIT.
Remember that every time you make a change, you will have to go back to the Overview on the left menu and click on “Publish, Mr.Scott!”
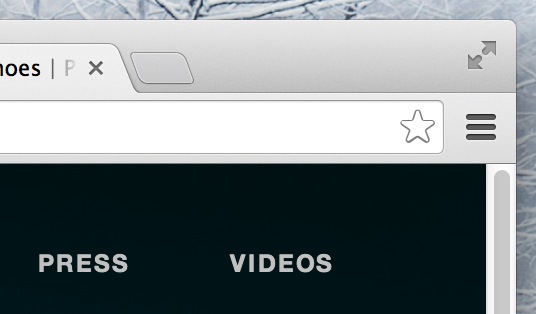
Your Video link now should be displayed on the data room on the top right corner.
Your video is now ready for display.

Not available on the Solo plan
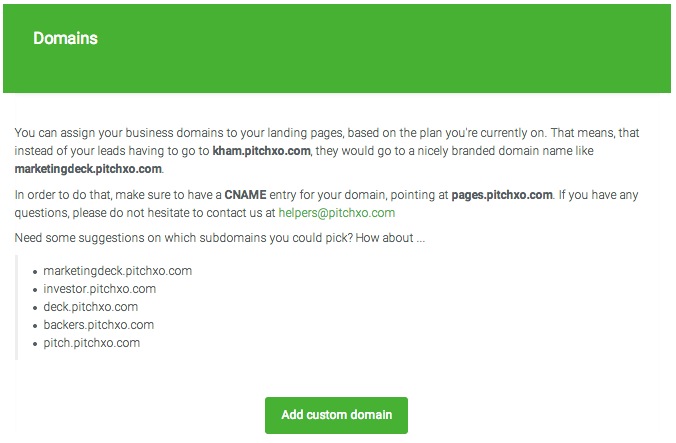
You can add your own custom domain instead of having a 3rd party extension in your URL. So instead of 'yourcompany.pitchxo.com,' you can customized it to investor.yourcompany.com, marketing.yourcompany.com, or sales.yourcompany.com.
Here is a quick video:
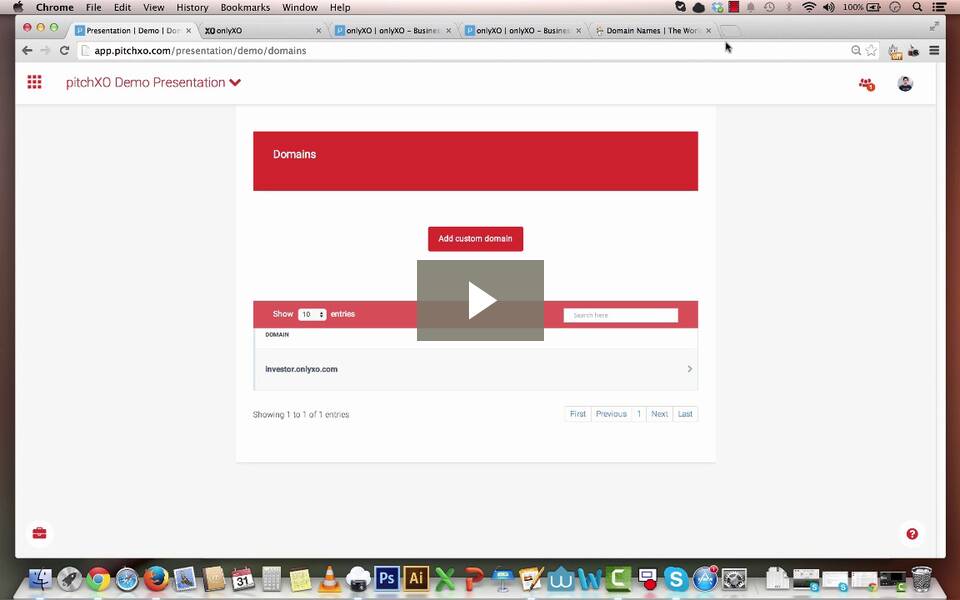
![]()

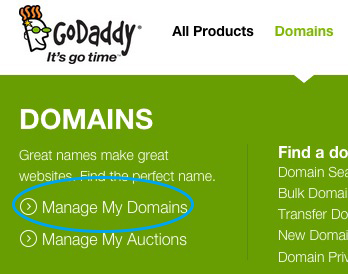
Now you will need to change the DNS settings with your web host provider. Just remember there are thousands of website providers so the menus and setting location will be slightly different from host to host. For this example, we will show you how to set it up on GoDaddy.
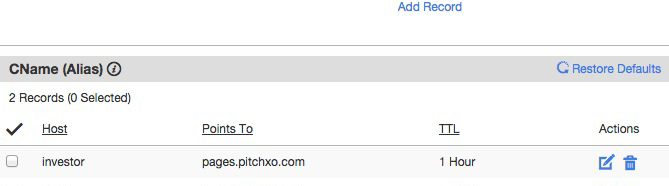
The 'Host' will be your subdomain name that you have it setup in pitchXO. The 'Points to' has to be pages.pitchxo.com

You're done. The next time when you send out a link to your data room, instead of sending the acme.pitchxo.com you can send them the URL with your company name such as investor.acme.com which looks a lot nicer and more professional. And it will look like it's coming from your own webpage.
If you still having trouble setting it up, please email us at helpers@pitchxo.com
Have your offices located around the world with Google Maps. You can pinpoint where you do business, your sales teams, customers, etc. Anything you want, and it's simple to setup.
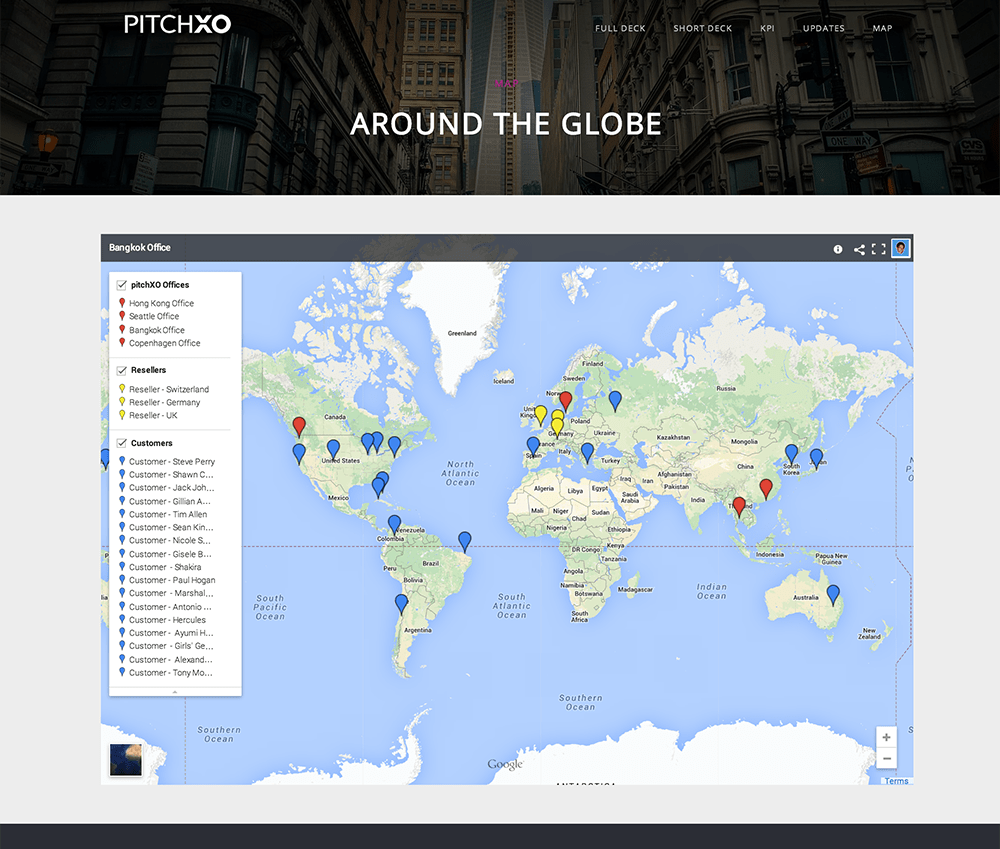
Here is a quick video on how to setup Google Maps:
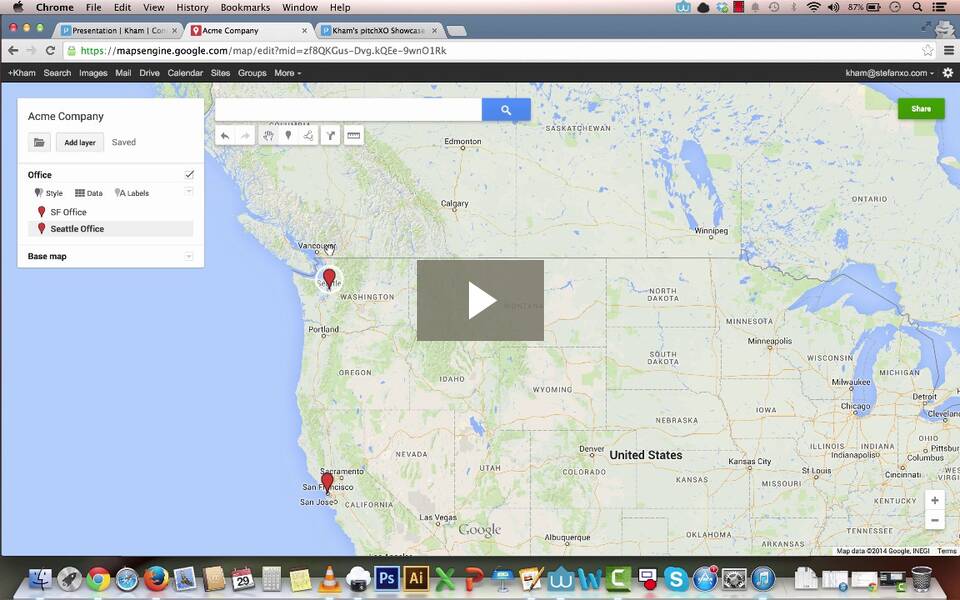
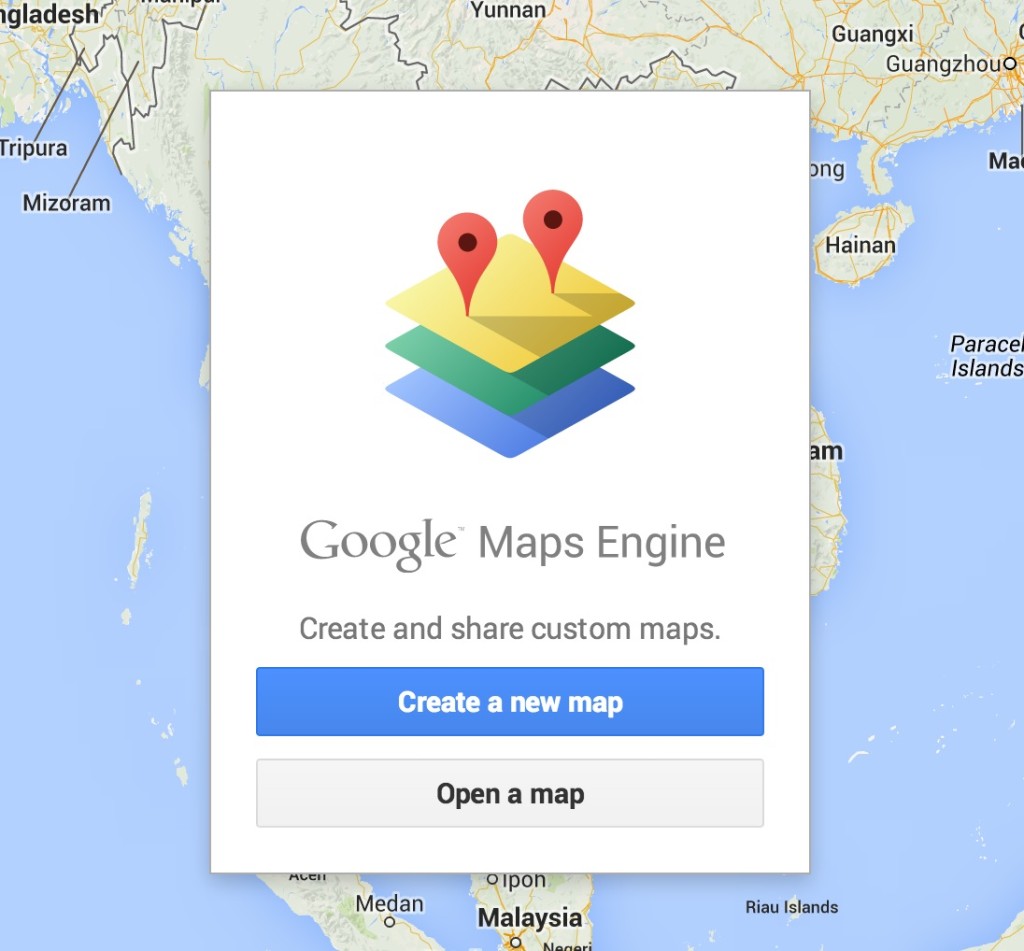
Let's go to Google Maps Engine to setup your map. Go ahead and Create a new map.
Once you are done with your map it's time link to pitchXO.

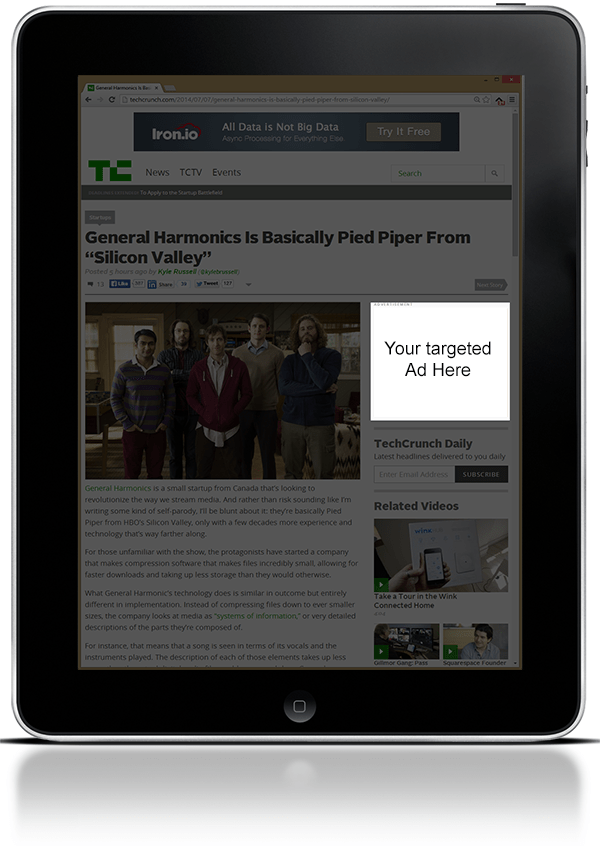
Google Tag Manager allows you to tag your leads whenever they visit your data room. So when they are at another website like TechCrunch or YouTube, they will see your company ads through DoubleClick, Google Adwords, and other GTM supported networks.
This is a great way to remind your leads who visited your data room days or weeks ago. Increasing the chance of them coming back and contacting you again. And the best part is...it's free.

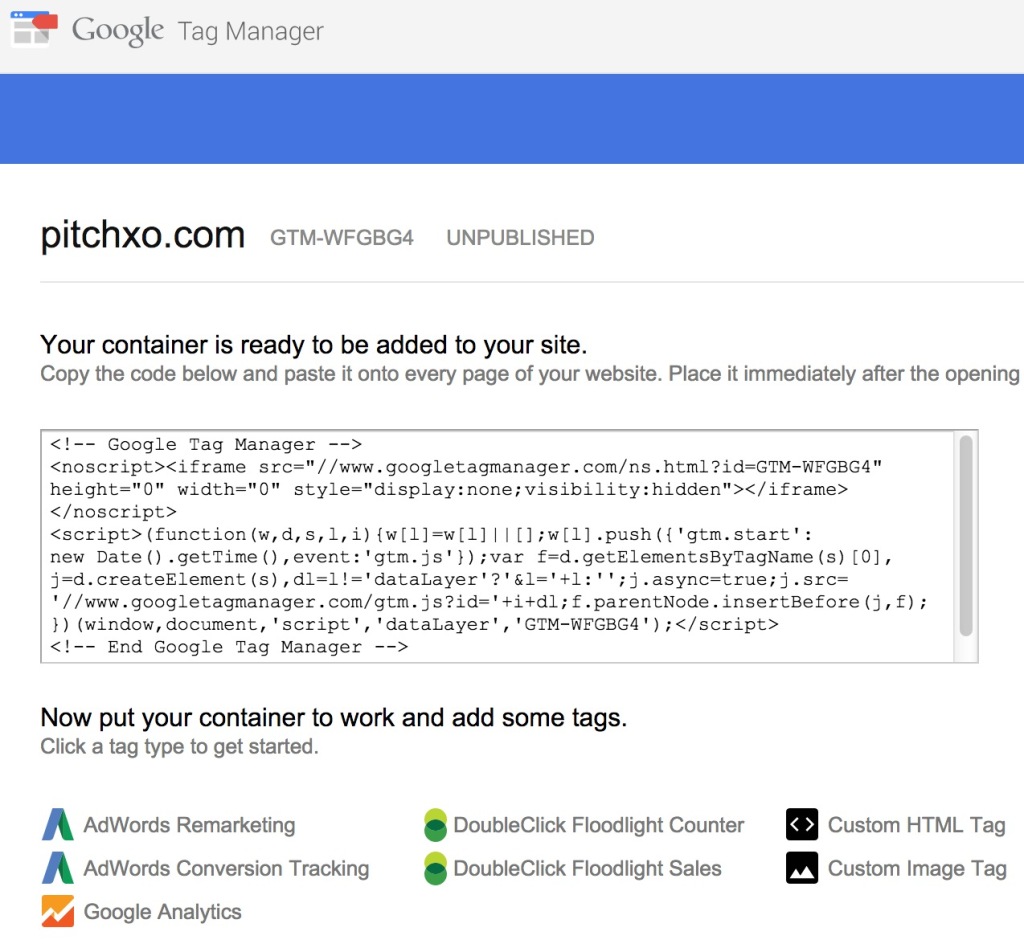
Google Tag Manager will generate a container snippet to be added to your site.

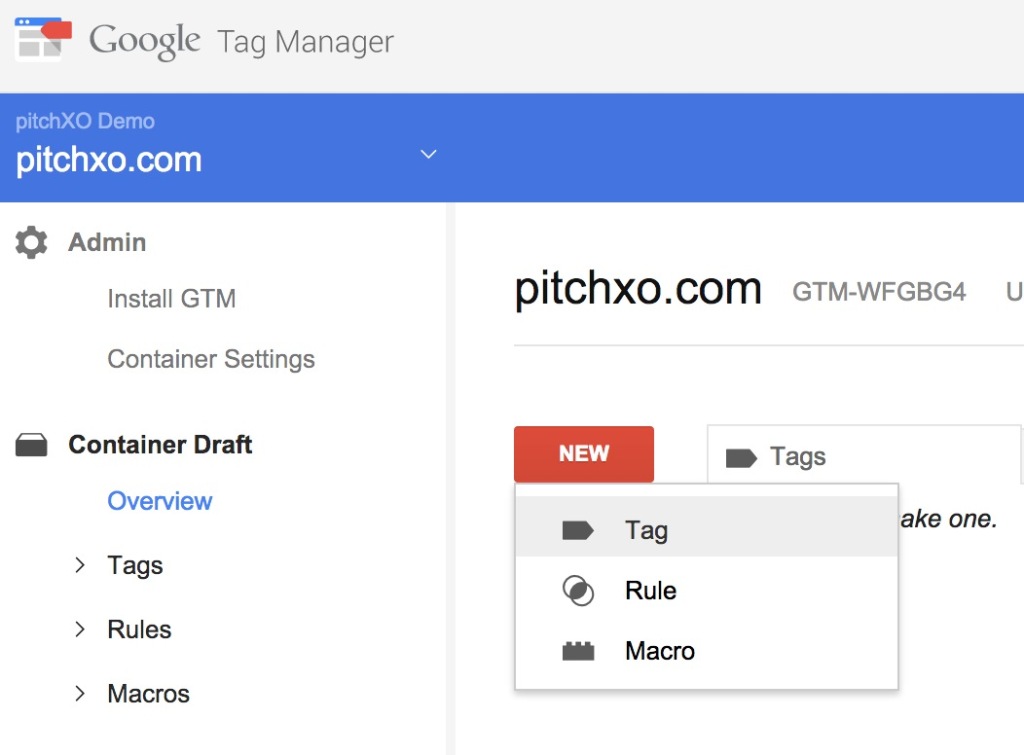
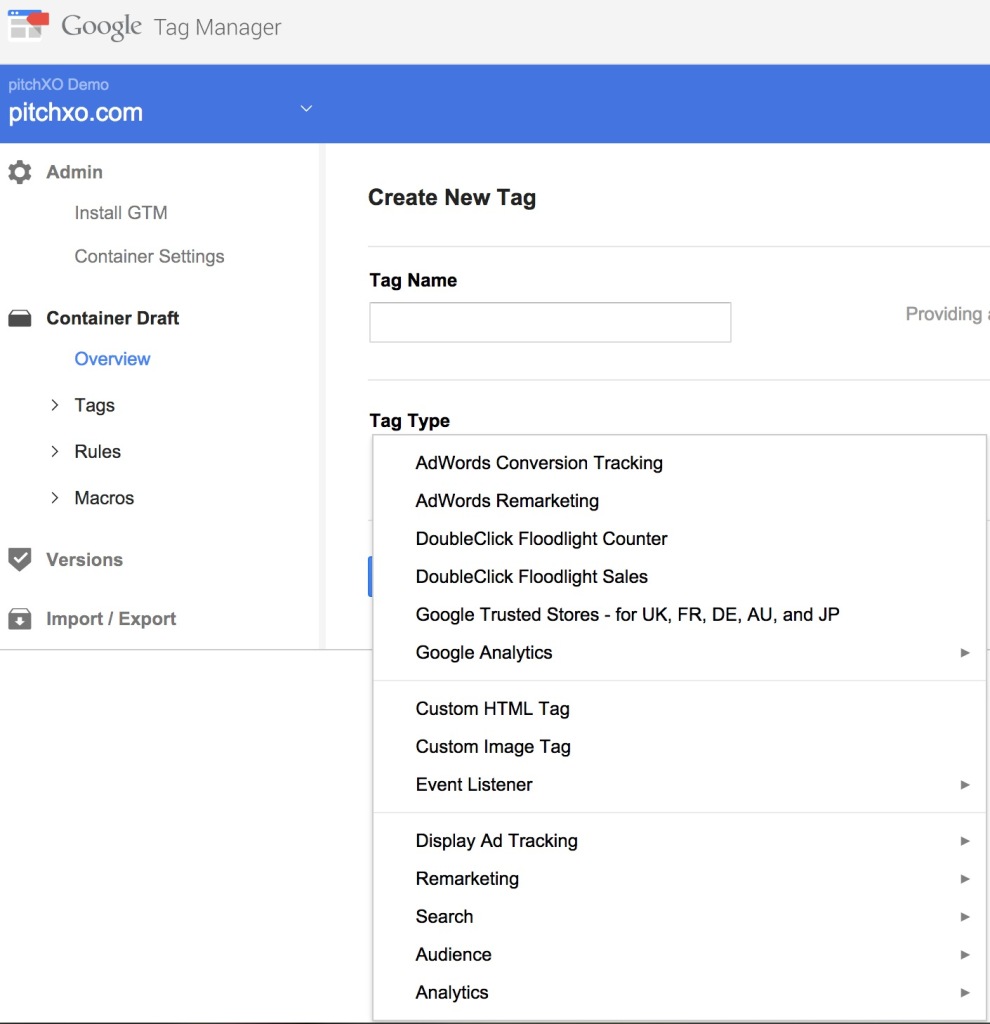
Once you created your container, you can start creating the tags for your website. Google provide some templates, but you can also create your own custom tags. For a complete list of tags and their explanation you can find it here.
Depending on which Tag Type you select you will be prompted to fill in additional information such as Conversion ID and Conversion Label for AdWords Conversion Tracking or Web Property ID, Cookie Path and Track Type for Google Analytics.

You can preview the site with the tags to see how it looks and behaves like you want it. A Version is created when you preview your page.
Once you are satisfy, go to the version you want and Publish it. This will publish your tags to the live site.


Every investors want to know what's going on with their investments. Providing monthly KPIs and company updates are the best way to form this relationship. Google Docs is probably the most underrated tool on the web. It's free. Everyone is familiar with it and it can be accessed by anyone.
Here is a short video of how your KPI should be structured:
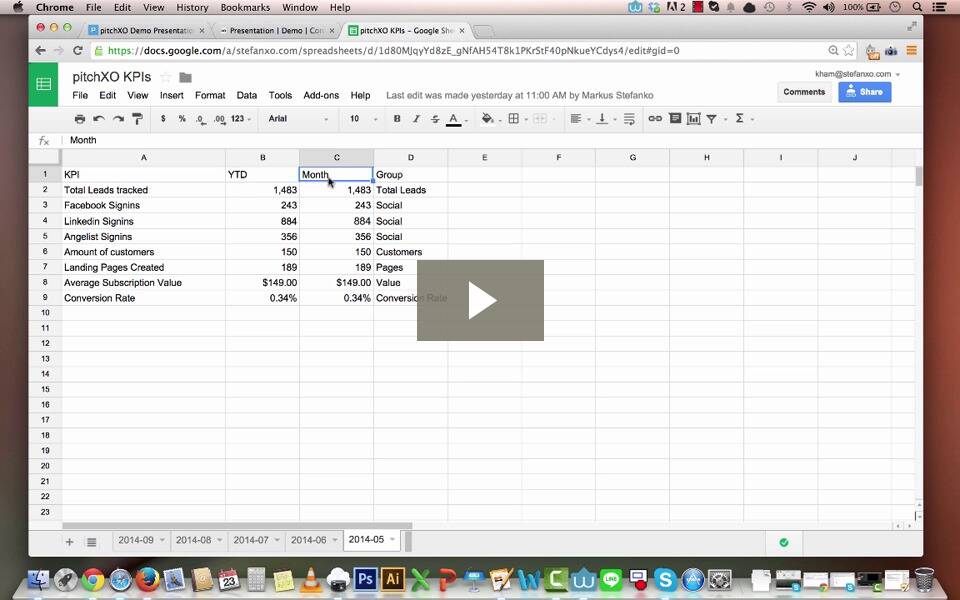
And here is a video on Company Updates:
This tutorial will show you how to turn a boring but awesome Google Spreadsheet into this:

And this:
Let's start off by updating our investors with KPIs.
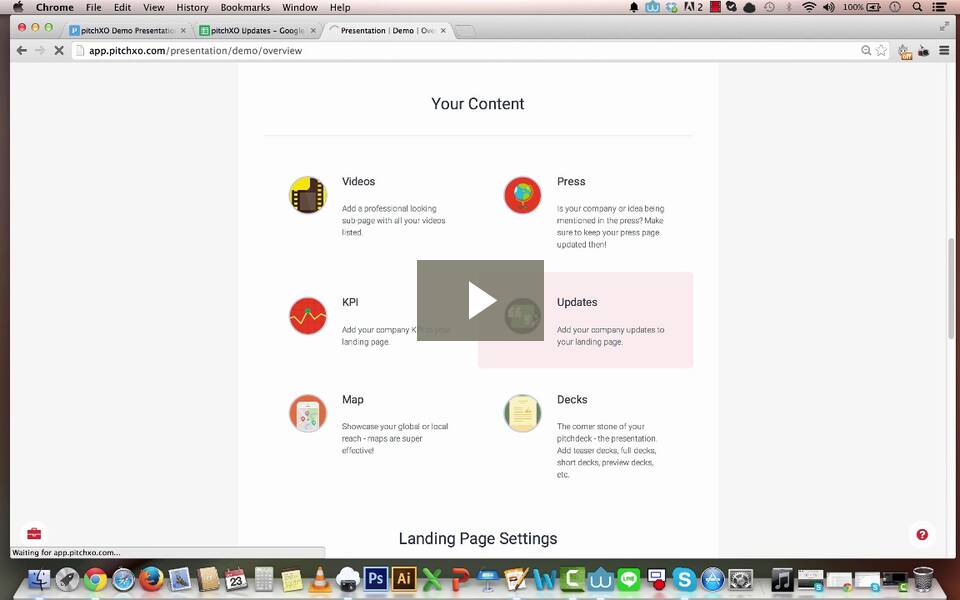
Go to the Overview page until you see the icon link below for Google Sheets and click on it.

Now you will need a Google account in order to get access to Google Docs. You can find it here: Google Docs
Once available you can name your spreadsheet whatever you like. We just kept it simple and called it KPI. Start by looking at our KPI demo template to get an idea of the format. You can copy our template and change the example by inputting your own data. You can also add new worksheets so you can keep track of KPIs on a regular basis such as monthly or bi-weekly.

Once you have your KPIs entered in the spreadsheet it's time to connect them with pitchXO using the Google Docs ID.
How to find your ID? Go into your spreadsheet, click on 'File' and 'Publish to the Web'. Confirm the publishing, and check the 'Document link' that Google Sheets shows you. The link will look something like this :
https://docs.google.com/spreadsheets/d/1D0BDAfVOz5Gig9V9vom6kYmZ1h_rLymry3q23jJ9S24/pubhtml
Paste the Google Doc ID in the space provided below:

Now, let's create our company updates. Investors like to know what's going on with your company so update them monthly. You can use our company updates demo template as a guide. You can also add more worksheets for for historical and future updates.

Once you are done with your updates you will have to get the Google Doc ID the same way that you did for the KPIs. Paste your Google ID in the space provided.
You're almost done. Let's Connect to Google Sheets and Publish.
When both KPIs and Company Updates are loaded and published, they will also become visible on your published data room.
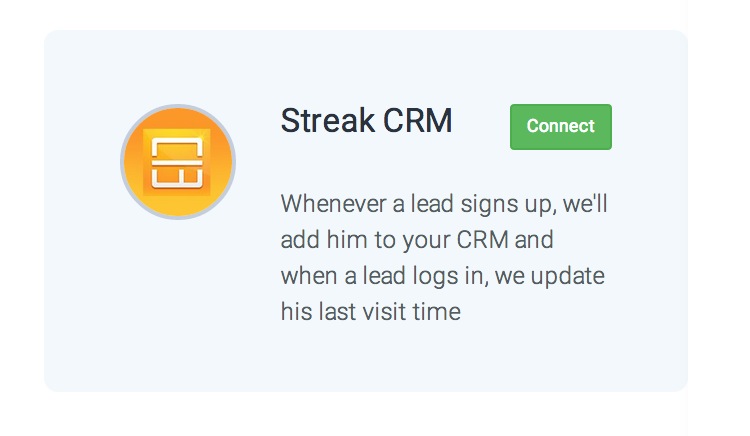
Streak is an email organization suite for Gmail that allows you to keep track of your contacts. Streak CRM integration will automatically input your contacts/leads information in your pipeline whenever they sign up on your data room. No more having to enter them manually.


Want to have direct contact with your leads and provide lighting fast support and feedback whenever they visit your data room? UserVoice is an amazing tool that allow leads to connect with you just with one click.
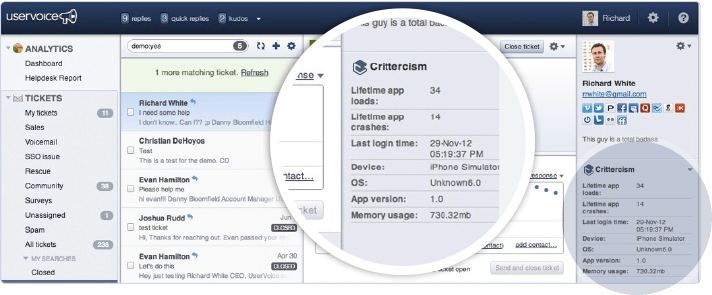
First, visit UserVoice and sign up with their service. Once you have completed the creating an account process we can start by connecting your UserVoice account with pitchXO.
In your UserVoice Admin Console page go to Settings then Widgets.
In the embedded code box copy your special code and enter it in the pitchXO box provided.

Paste the special code here.

Now, when a lead visits your data room. They will see a "?" on the bottom right corner which they will be able to contact you or members of you team.
Zapier is an API tool that allows you to send information or execute instructions from a trigger point app to over 300 applications that you are already familiar with. This tutorial we will show you how to setup your account on Zapier and have one application tell another application what to do when this or that happens.
Here we will set it to where if a lead signs up on your data room, Streak will input that leads name and contact information for you automatically in your pipeline.
First, let's visit Zapier and sign up. It's totally free. https://zapier.com/
Step 1

Step 2
This is your webhook URL. Let's copy it to our clipboard because we will need to paste it in our Connectors.

In pitchXO, find the Zapier icon and click on Connect.

Step 3
Back to Zapier, select your Gmail account that is linked with Streak. Make sure to click on the test button to see if it's working properly.

Step 4
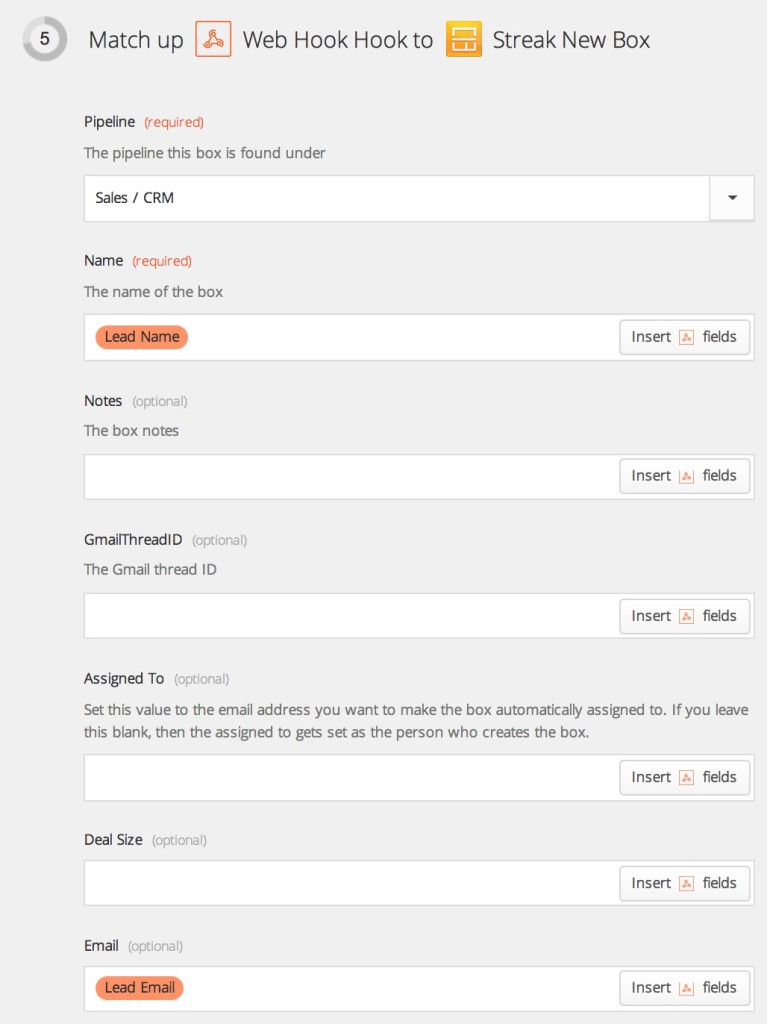
We will skip Filter in step 4 since it's optional. Let's move to step 5.
Step 5
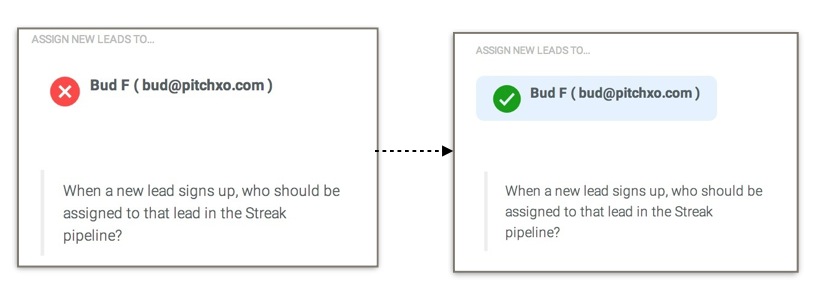
There are many options that you can create with Streak add them here also.
Step 6
Test your Zap.

Click on each of your samples to make sure to make sure they work. If they do, you will see a successful message.
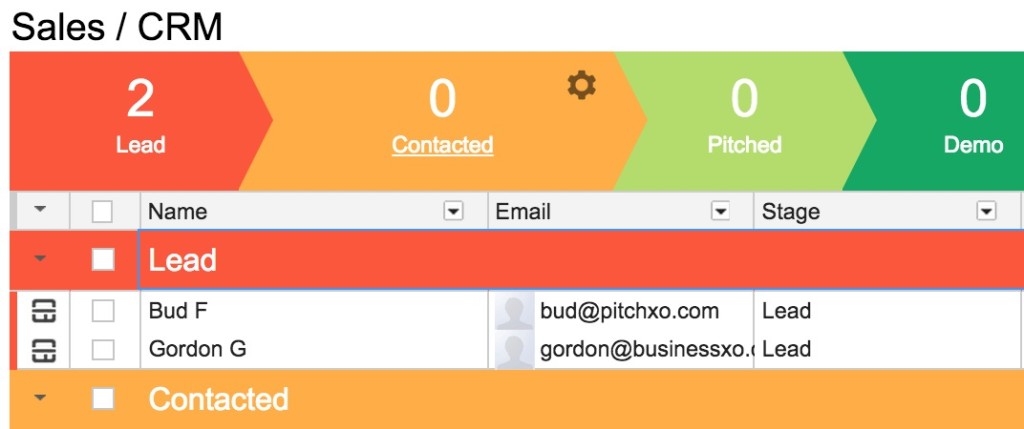
In this example, we are using Streak CRM in our Gmail account. You can see that the two new leads have been automatically entered in the Pipeline.
To test your own account, make sure to have someone sign up on your data room. You can either set it to whenever a lead signs in and/or when each lead logs in.
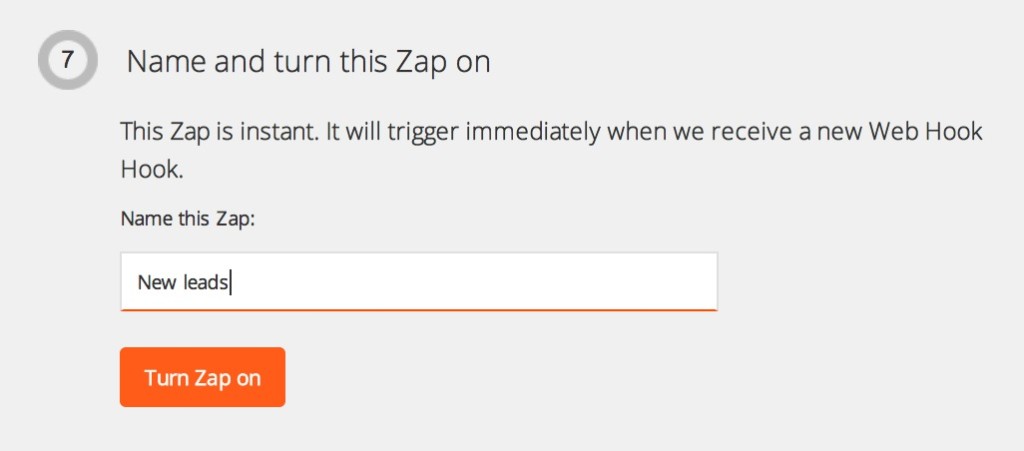
Step 7
The final step is to name your Zap and turn it on.
It's simple. We provide a platform to help you pitch your ideas to raise funding by uploading your PDF into a professional data room with all your investor material.
Who can benefit from pitchXO?
Sole entrepreneurs, startups, marketing team, incubators, and charity organizations, basically anyone seeking funding.
How can pitchXO help me?
pitchXO allows you to host your presentation material and send out a simple link to your leads without having to send large PDF files.
You are able to see background information on the leads before allowing them access to your material. Check who logged in, see lead behaviors by viewing what presentation they looked at, how many times, and for how long they spent on each slide.
pitchXO provides CRM tools such as Streak to help you manage your leads. No more entering in data manually. Everything can be done automatically with our Connectors features using an API that can connect with over 300 applications that you are already currently using.
The main advantage for using social media login is confidence in the identity of the lead accessing your data room. Since nowadays social media is very common, you are able to easily verify that a lead is actually who he says he is.
Also sharing of social media credentials is not as common, as sharing of a username/password or even sharing of email access with 3rd parties. Especially nowadays that social media providers have higher scrutiny when unknown parties access a social media account, this works in your favour as well.
What are the advantages of using social media login?
Email doesn't show a lot of information on you leads. So you are giving access to your data room, but are not guaranteed that it's the same person owning the email account actually accessing the data room. This is a big problem.
Social login provides a more secure identity confirmation so you know that the material is for the eyes of only the person who has requested access.
Data
Data on the leads are collected through social media for your view only. No one else will have access except for the Admins on the account.
No. Leads who signed up are not shown to other leads. Only the Admins are able to see this information.
Yes and No. Usually you will have a short deck, which is your teaser deck with up to 5 slides. You can set this to public and no social login is required and they can see it immediately, but remember that you won't be able to see or track who has checked out your material. For the full presentation, the leads will have to request to see your material and you will need to approve or deny them. The leads will then log in with their social login once approved and they will have access to your material.
Enable Email Login
For instances where your leads would prefer not to login with their social account - you can enable "email login" in your data room. This way a lead has to enter their email, and will receive an OTP to their email address on each login to verify their identity.
Will it cause friction?
You don't have to worry about friction between leads/investors when they are hesitant about logging in with their social account. When a lead logs in, they are logging into a secured network. They don't have to worry about their information being shared and is protected from the public domain.
Values for you and the leads
The value of having a lead logging in with their social account is to your benefit and the lead. You are able to monitor your material and track the traffic through your sites. You will also have the lead's contact information if you want to contact them for any reason.
What if the lead still refuses or doesn't have any of the three social login accounts?
You have the option to create a short or teaser deck with 4-5 slides, which you can set to public. Anyone can view the slides but there are huge disadvantages because you will not be able to see who viewed your presentation and don't have their contact information if you ever want to connect with them.
Yes. We feel the best way of getting to know our product is by using it which is why we offer a 7 free trial to customers. Just simply sign up and try it. Let us know if you need help by clicking on the green "?" on the bottom right corner or e-mail us at helpers@pitchxo.com and we will be happy to assist you.
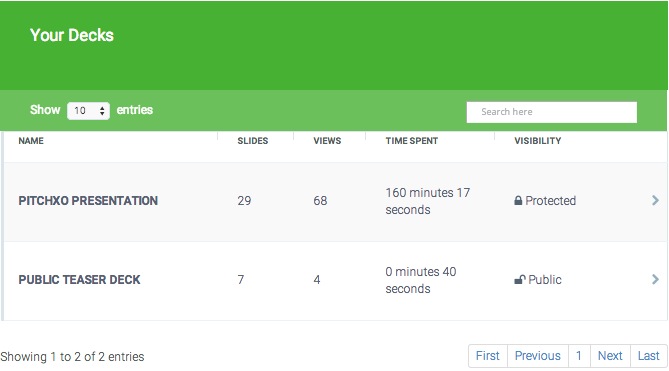
If you ever want to delete your deck or replace it, just simply go to Your Decks.
To replace your deck:
To delete your deck:


We will notify you once your account has been upgraded.
We are sorry to hear you go but if you would like to cancel your account. There are two ways to cancel your subscription.
Option 1:
Simply follow the instructions in your e-mail from our payment provider.

Option 2:

Once you have completed setting up your data room and loaded your presentation material. Let your leads know by sending them an invitation to view your material.
Here is an example of what to write:
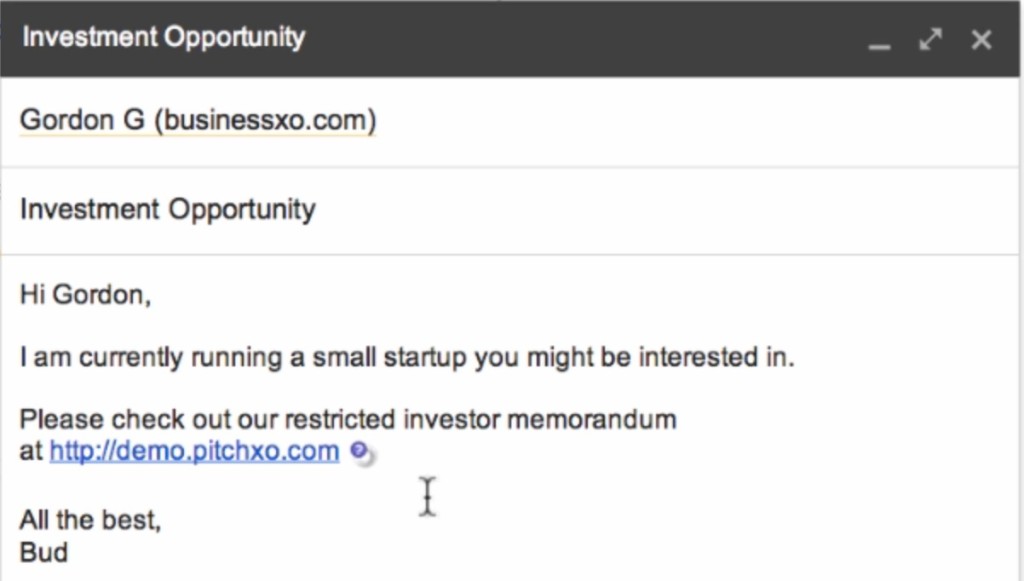
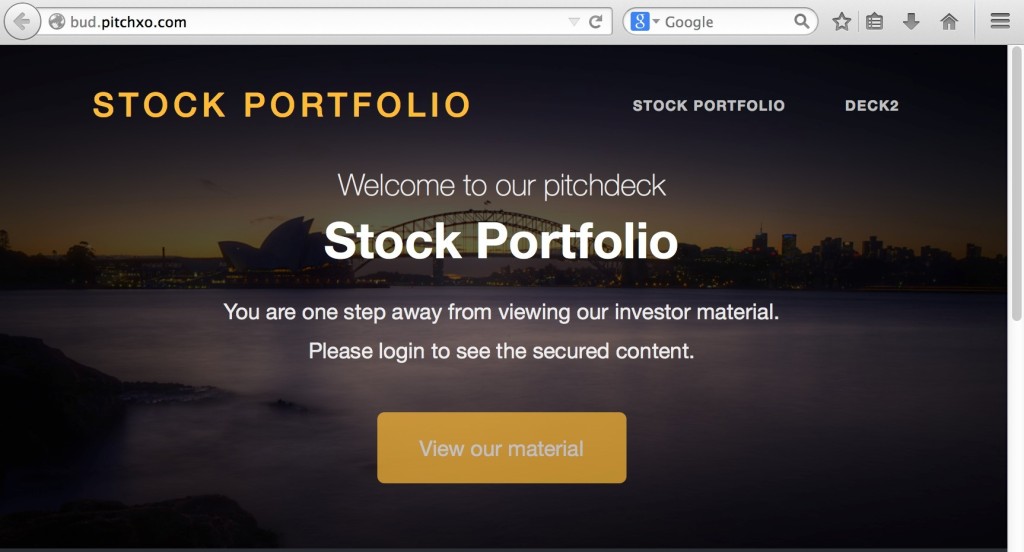
Once you sent them the email with the link to your Data Room. They will come to your page and will not be able to view your yet material until they are approved by you, the Admin. They will need to click on the link "View our material" and login with one of their social account (Facebook, LinkedIn, AngelList).

When the lead signed in successfully with their social login. They will be given the below message to wait for your approval.

You will be notified by email once a lead clicks on the link requesting to view your material. pitchXO allows you to review the leads' credentials through their social media login and let you decided if you want them to have access to your material.
Click on the "Approve or deny lead" link and it will take you to the pitchXO page.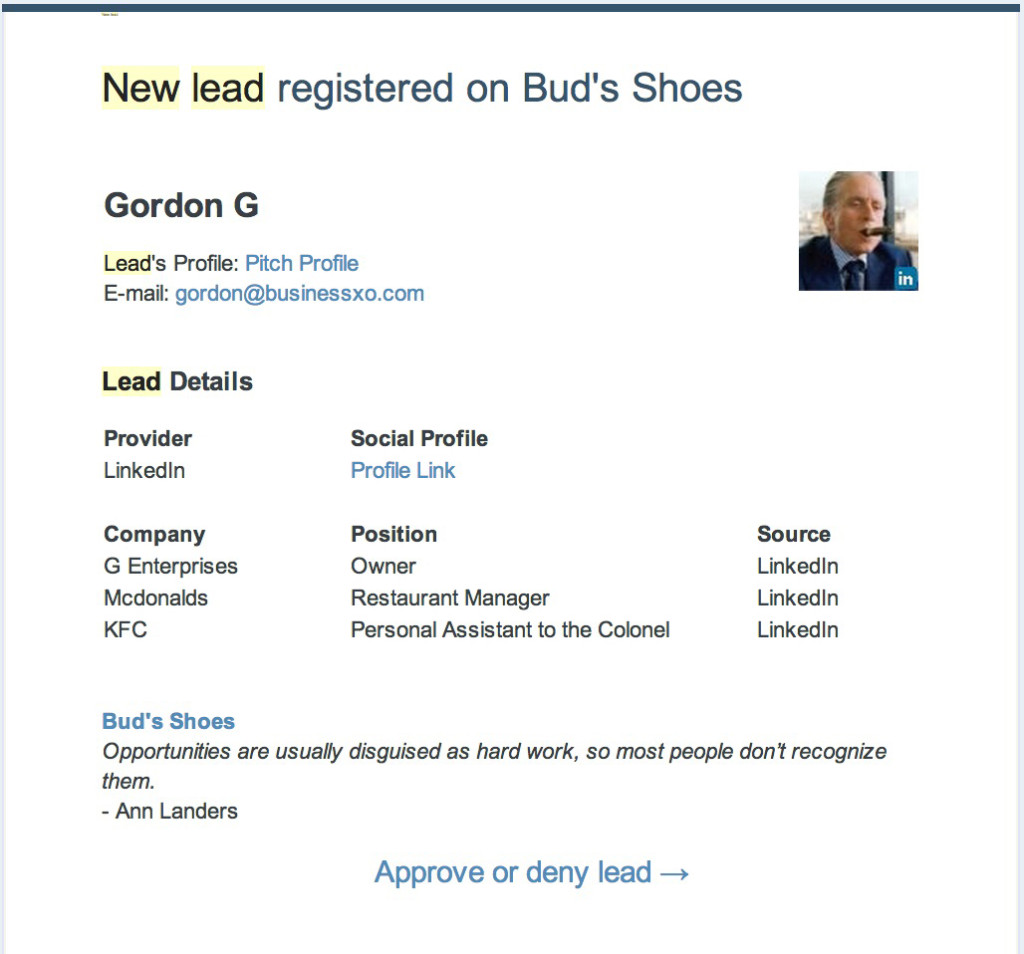
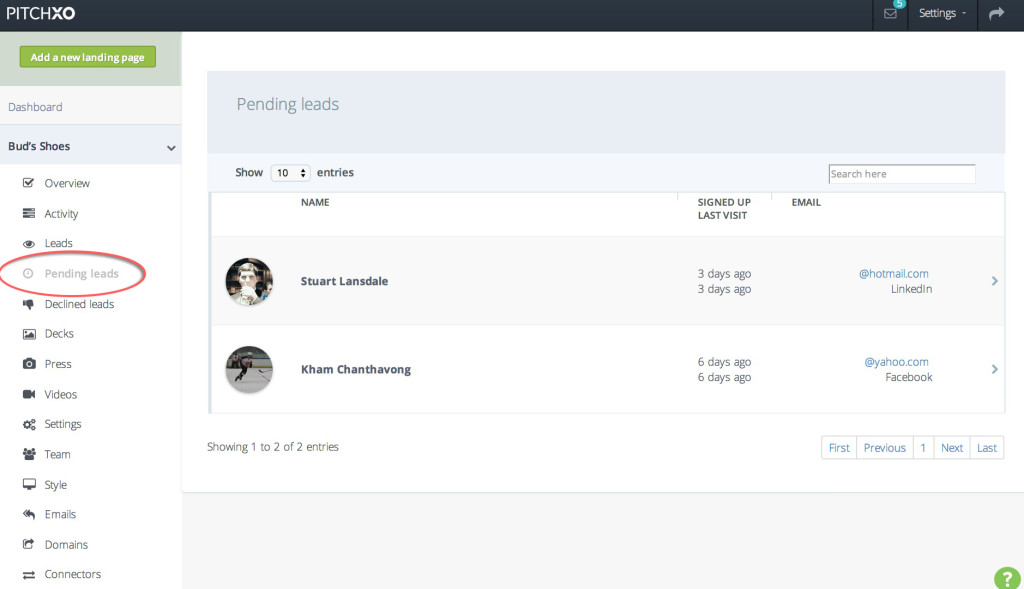
Once you logged into your dashboard. You want to check the "Pending leads" on the left side of the menu. You will now see a list of your leads that signed up and are awaiting approval.
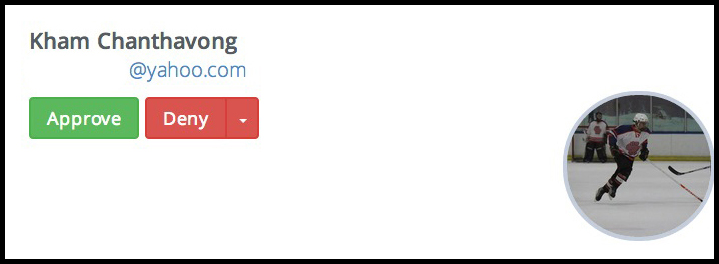
Click on the lead then decide if you would like to Approve or Deny them. An automated email will be sent to the lead of your action.
You can customize your automated email message by going to the "Email" on your dashboard.
Your lead will now be able access your material. Let the pitching begin!